How to Photograph Birds in Flight
Bird in Flight Photography
When it comes to bird photography there is nothing that I love more than capturing an intimate portrait of a bird in its natural environment. Creating an artistic photograph of a challenging bird on an appropriate perch is what I live for!
Top 10 Strategies for Success
With this said, there is also something thrilling and deeply satisfying about capturing an image of a bird in flight. For many bird photographers this is the ultimate goal. After all, when you think of the defining characteristic of a bird, flight generally does come to mind. In this installment of The Joy of Bird Photography I will share my top 10 strategies for successfully photographing birds in flight.
1. Equipment Matters
I am a big proponent of the fact that you do not need top of the line cameras to create fantastic images. However, more sophisticated camera bodies often have a second computer processor dedicated to auto-focus. This translates into real world advantages when trying to photograph birds in flight. Similarly, professional grade lenses with large maximum apertures will focus faster than consumer grade lenses. Sometimes equipment matters…
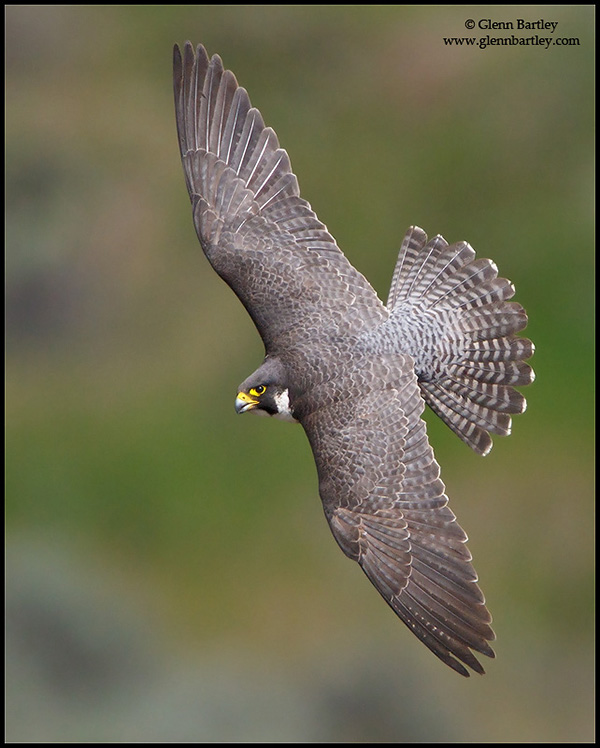
Peregrine Falcon (Falco peregrinus) flying in the interior of British Columbia, Canada.
2. Fast Shutter Speeds
Capturing images of birds in flight requires fast shutter speeds. It is impossible to say exactly what shutter speed will be required. The faster the bird is flapping its wings, the faster the shutter speed will need to be. Make sure to adjust ISO and aperture settings so that you keep your shutter speeds up.
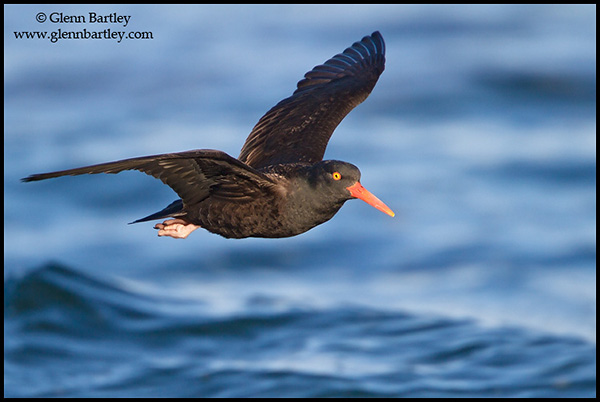
Black Oystercatcher (Haematopus bachmani) flying in Victoria, BC, Canada.
3. Pre-Focus
If you are anticipating photographing a bird at a certain distance, pre-focus your lens (manually or by auto focusing in the area where you expect them to be). This will make it easier for you to initially find the bird in your viewfinder and allow your auto-focus to lock faster.
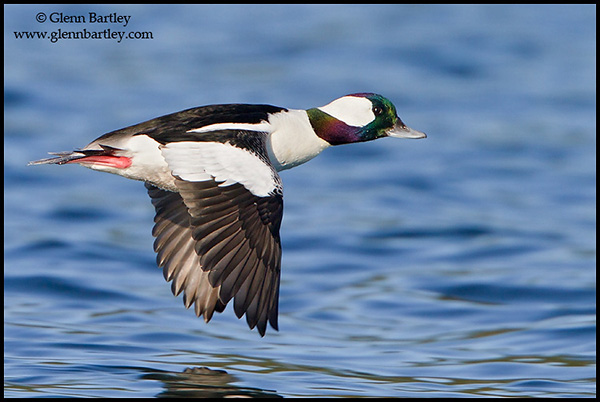
Bufflehead (Bucephala albeola) flying in Victoria, BC, Canada.
4. Continuous AF
Whatever brand you shoot with – make sure you are using the predictive AF tracking mode (Canon calls this AI Servo). In this mode you can lock focus on the flying bird from far away and then by holding the shutter button down half way the camera will constantly keep the bird in focus as it gets closer to you.
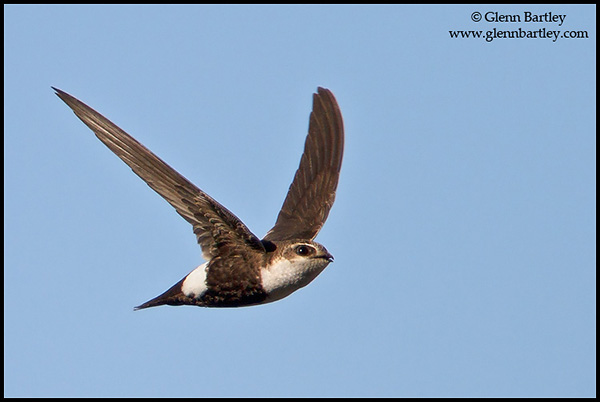
White-throated Swift (Aeronautes saxatalis) flying in the Okanagan Valley, BC, Canada.
5. AF Sensor Selection
Depending on the brand and model of camera that you use you will have varying options for what auto-focus points are actively being used. I recommend using the center auto-focus point with some form of peripheral auto assist focus points.
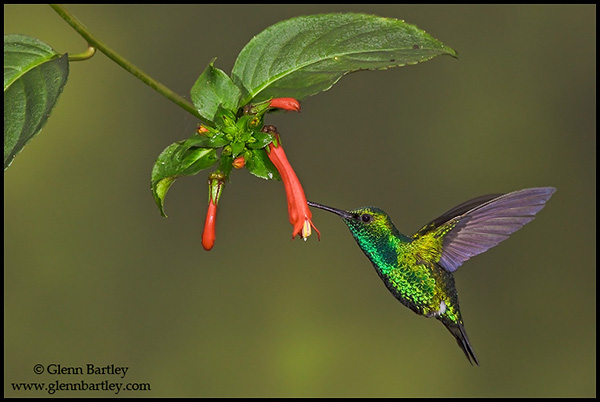
A Western Emerald Hummingbird (Chlorostilbon melanorhyncus) feeding at a flower while flying in the Tandayapa Valley of Ecuador.
6. Limit the Lens
Many telephoto lenses allow the user to limit the range in which the auto-focus will search. For example my 500mm lens has a setting for 10m to infinity. If I know that the flying bird is not going to come closer than 10m from me I always use this setting. Doing so means that the auto-focus doesn’t have to hunt all the way back to 4m and drastically speeds up the rate at which focus is acquired.
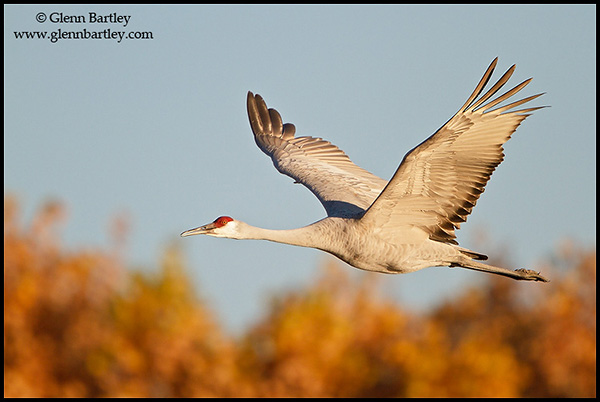
Sandhill Crane (Grus canadensis) flying at the Bosque del Apache wildlife refuge near Socorro, New Mexico, USA.
7. Ditch the Tripod
For perched birds I use a tripod 99.9% of the time. But when it comes to photographing birds in flight I highly recommend hand holding your gear. The freedom to move freely in all directions and pan comfortably will undoubtedly result in more keepers.
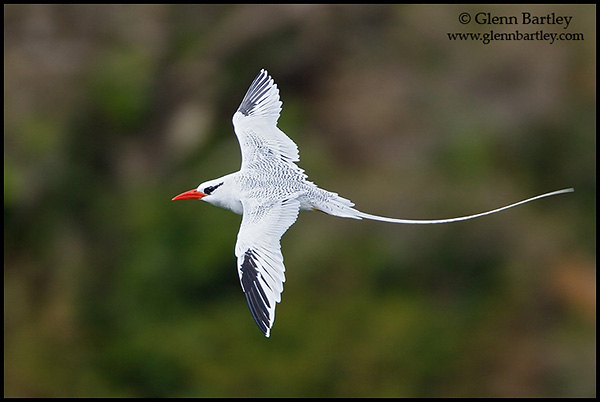
Red-billed Tropicbird flying off the coast of Tobago.
8. Study your Subject
Some birds fly in a straight line, others have undulating flight patterns. Perhaps the bird is flying in a predictable direction or towards a known location? As is the case in all types of bird photography, the more you know about your subject the better you will fare.
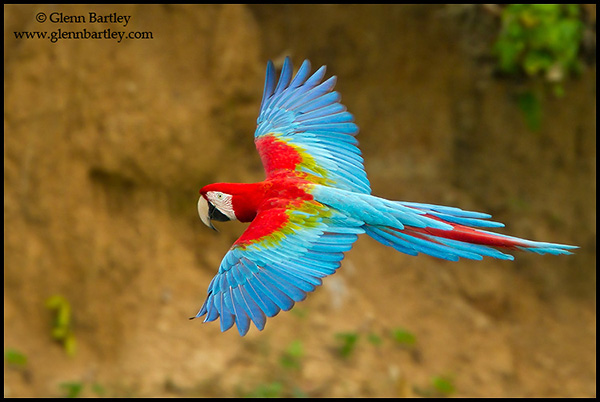
Red-and-green Macaw (Ara chloroptera) flying in Peru.
9. “Pump” the Focus
If the camera does not lock on the subject quickly, rather than simply holding down the shutter button and hoping that it finds the subject, it is much better to “pump” the shutter button until the camera locks focus. Otherwise the auto-focus will simply go back and forth between infinity and the minimum focus distance of the lens.
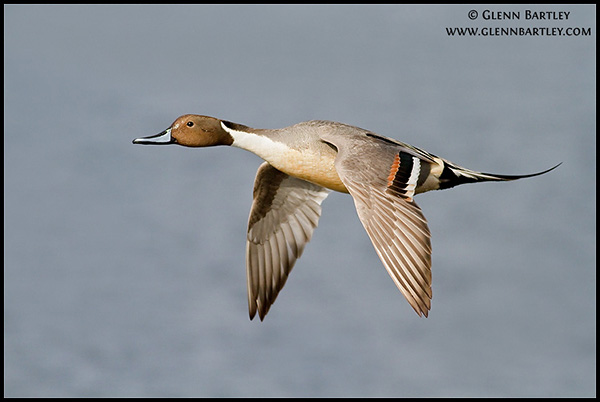
Northern Pintail (Anas acuta) flying in Victoria, BC, Canada.
10. Practice, Practice, Practice
Ultimately, being a proficient flight photographer requires good eye to lens coordination. This skill can only be developed from practice. Start with easy and readily available targets such as gulls and herons and then move on to more challenging subjects.
Hopefully these tips help you capture the images you are after of birds in flight.
All the best!
Glenn Bartley
Your photos are truly inspirational ad thanks so much for these excellent tips – I am just thrilled when I get a great photo of a stationary bird, never mind one in flight!
Glenn is one heck of a bird photographer.
Great advice and stunning pics! I wish I would have seen this before I went to Brazil, I need all the photography advice I can get! I would like to share this post (link to you) on my blog, is that OK? Cheers!
I would think using one photo a short text quote and a link to the original would be OK…but if you want to use more than one photo you should ask Glenn for permission.
Saludos
Gunnar
Great shots!
Thank very much for teaching us!!